
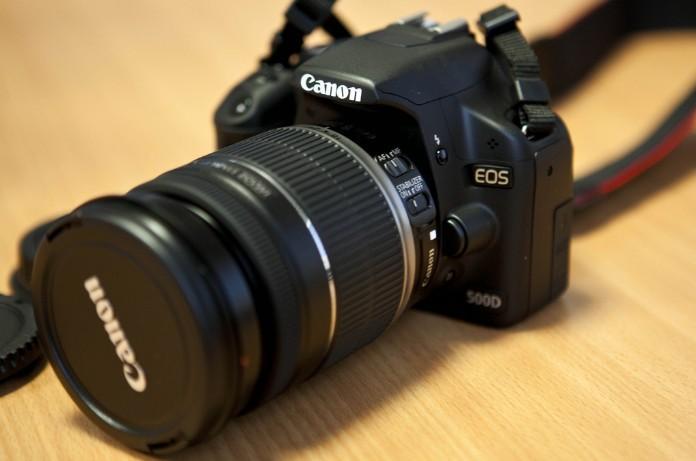
There are many good reasons why you should learn photography or imaging techniques from a Canon camera tutorial. The Canon camera makes it possible to take some fantastic photographs, and you can do this without having to pay for expensive professional photography lessons. This is not to say that the Canon system is the only way to take great photographs. However, if you have ever taken any sort of photograph using a digital camera, you should definitely consider reviewing some information on how to improve your photography skills. You will be amazed at just how much having an easy-to-follow tutorial in hand can make a huge difference in your photography skills.
Many people have the same question that they have: what is a Canon lens tutorial? This is very simple to answer. Basically, a lens tutorial is a way for someone who does not use a digital camera all that often to show others how to use the lens properly. This tutorial can help the beginner photographer understand their camera's capabilities and how to use the lens properly for the image that they want to take. As an example, you can look at the Canon camera tutorial to learn how to make a photo from the sun.
How does this work? To begin, you need to find yourself a copy of the digital instruction manual for your camera. This manual will tell you the basic function of each lens, so that you can easily follow the directions. After you have read the whole manual, you should have a good idea of what kind of things you can do with each of the lens options.
Next, review the instructions for the type of lens that you currently have. You may want to buy a new lens, or you may simply decide to use the one that came with your digital camera. This new lens option will have a tutorial to help you with using it. You can simply repeat the steps that apply with your old lens, or you may find that you need to read the tutorial again to get a different perspective on using the lens.
Once you have used the camera for a few minutes, take another few shots. Take several pictures with different settings. Look over the photos that didn't work, and try to determine what it is that needs to be adjusted. When you are looking over your photos, pay close attention to the camera settings. The camera may be programmed in a certain way, but certain adjustments will not apply unless they are specifically programmed into the camera.
Take another look at the photos that did work. What was the background? Was it bright or dark? Is everything in focus? These are all things that can be found in a digital photography tutorial. You simply have to look at the pictures again, and you can use the camera's manual to figure out what exactly is not working or adjusting in a way that is incorrect.
Adjusting the settings is one of the most important things to learn. When you start out, keep it simple. If you are taking pictures of people, it might be a good idea to use a lower ISO setting. This is also true for night cameras, and people who are in low light situations. Manual settings would be best in these circumstances, but if you are uncertain, then simply use a different point-and-shoot camera. As you become more advanced with your photography skills, then you will find that you can adjust things to your heart's content.
One of the best parts of the tutorial is that the Canon Digital Downloads Guide comes with each camera. It walks you through the steps to changing the battery power, the memory size, the shutter speed, and the aperture. This is a quick overview, and once you have changed the settings, you should be ready to take on your favorite subjects. If you are still learning, then make sure you have plenty of practice time. Taking photographs does not happen overnight. Practice as often as you can, and your camera will eventually be as powerful as you can make it.